In this post I describe how I went about building the fuselage nose section.
Firstly I built a rotating jig and mounted the bulkheads/frames. These were carefully aligned to ensure the correct profile was maintained.
Bulkheads/formers aligned on the build jig

Stringer locations were then refined to ensure correct alignment.

Stringer alignment
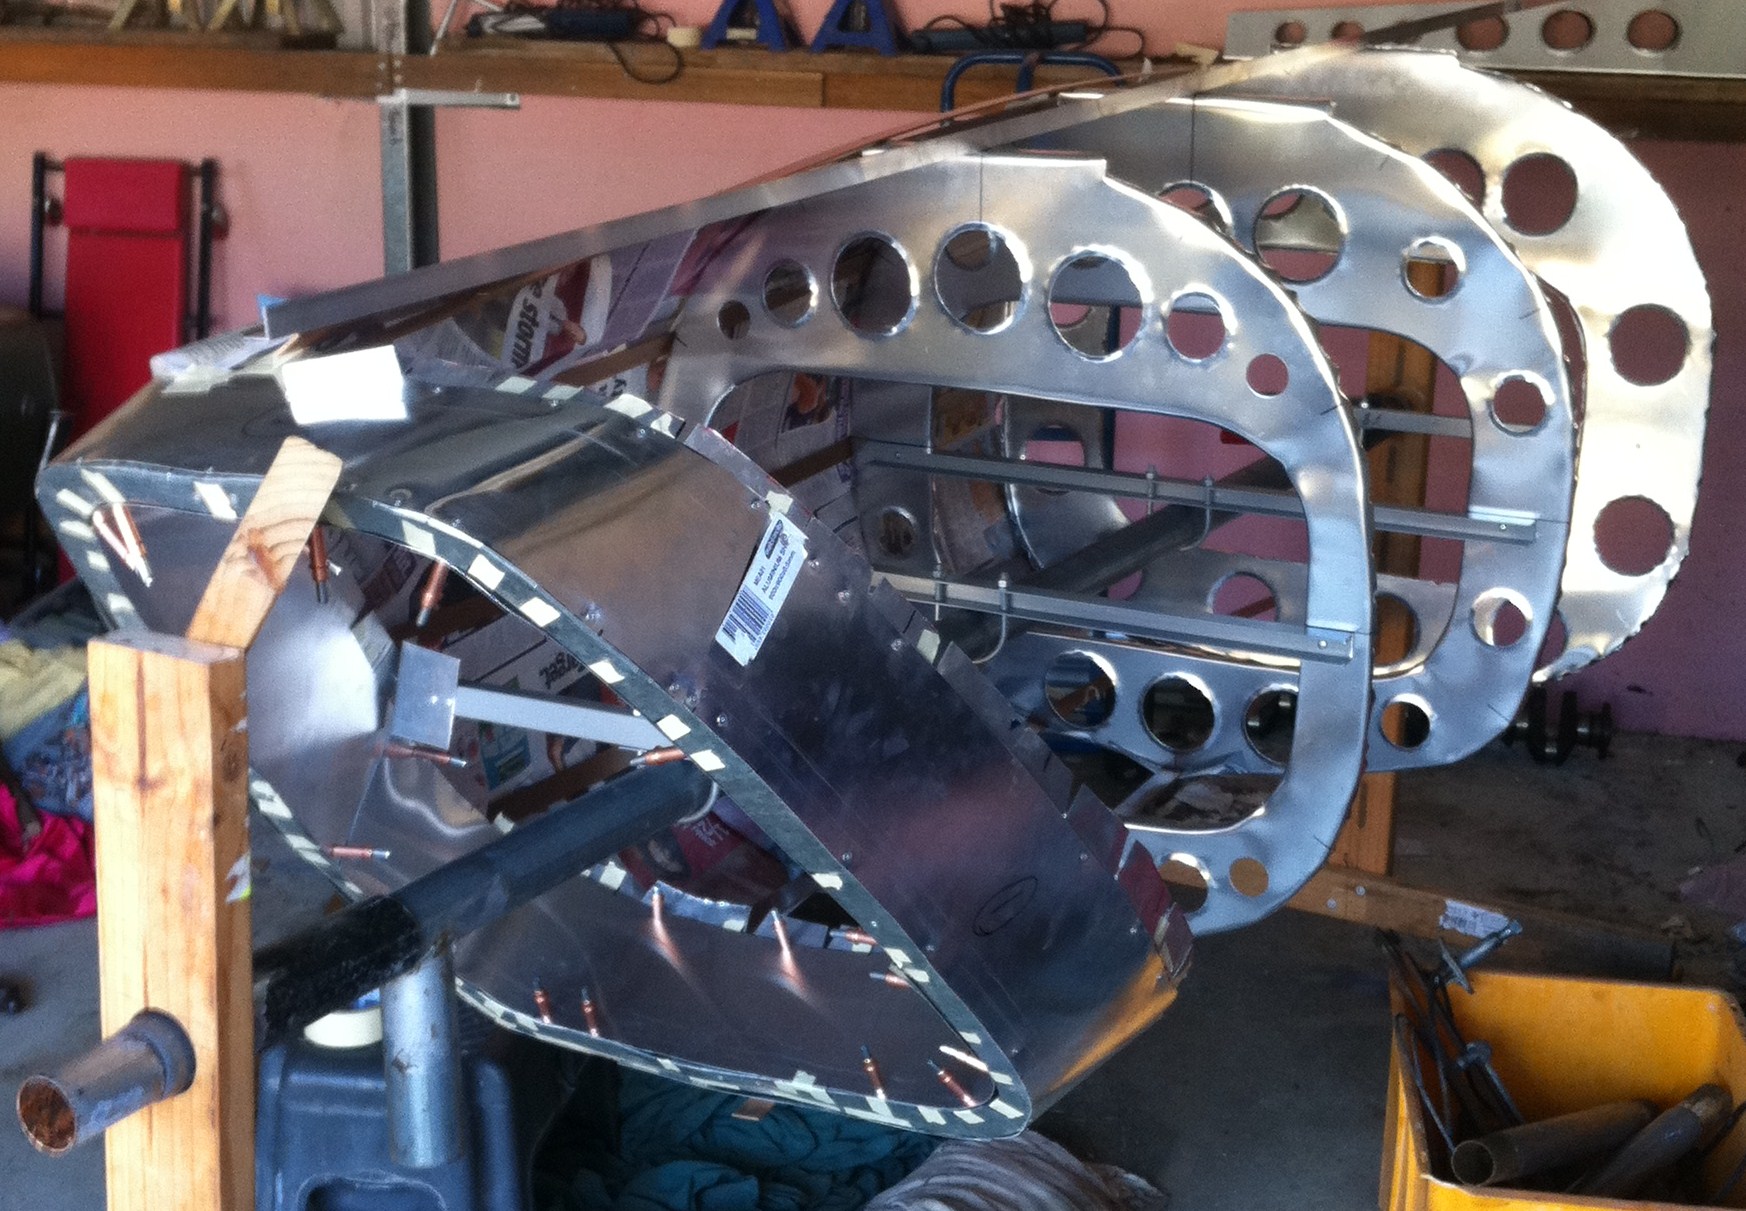
I was then able to begin attachment of the stringers. I used aluminium angle in a range of sizes – some flexibility was required for some portions of the nose, so smaller size angles were used in these areas.

Attaching stringers

Attachment of the stringers required numerous hand built custom aluminium angle components. This was a time consuming and laborious task – measuring, cutting, bending and drilling each angle to suit. I then began to rivet everything into place, once again ensuring the alignment remained accurate.

Bulkhead/formers and stringer attachment detail
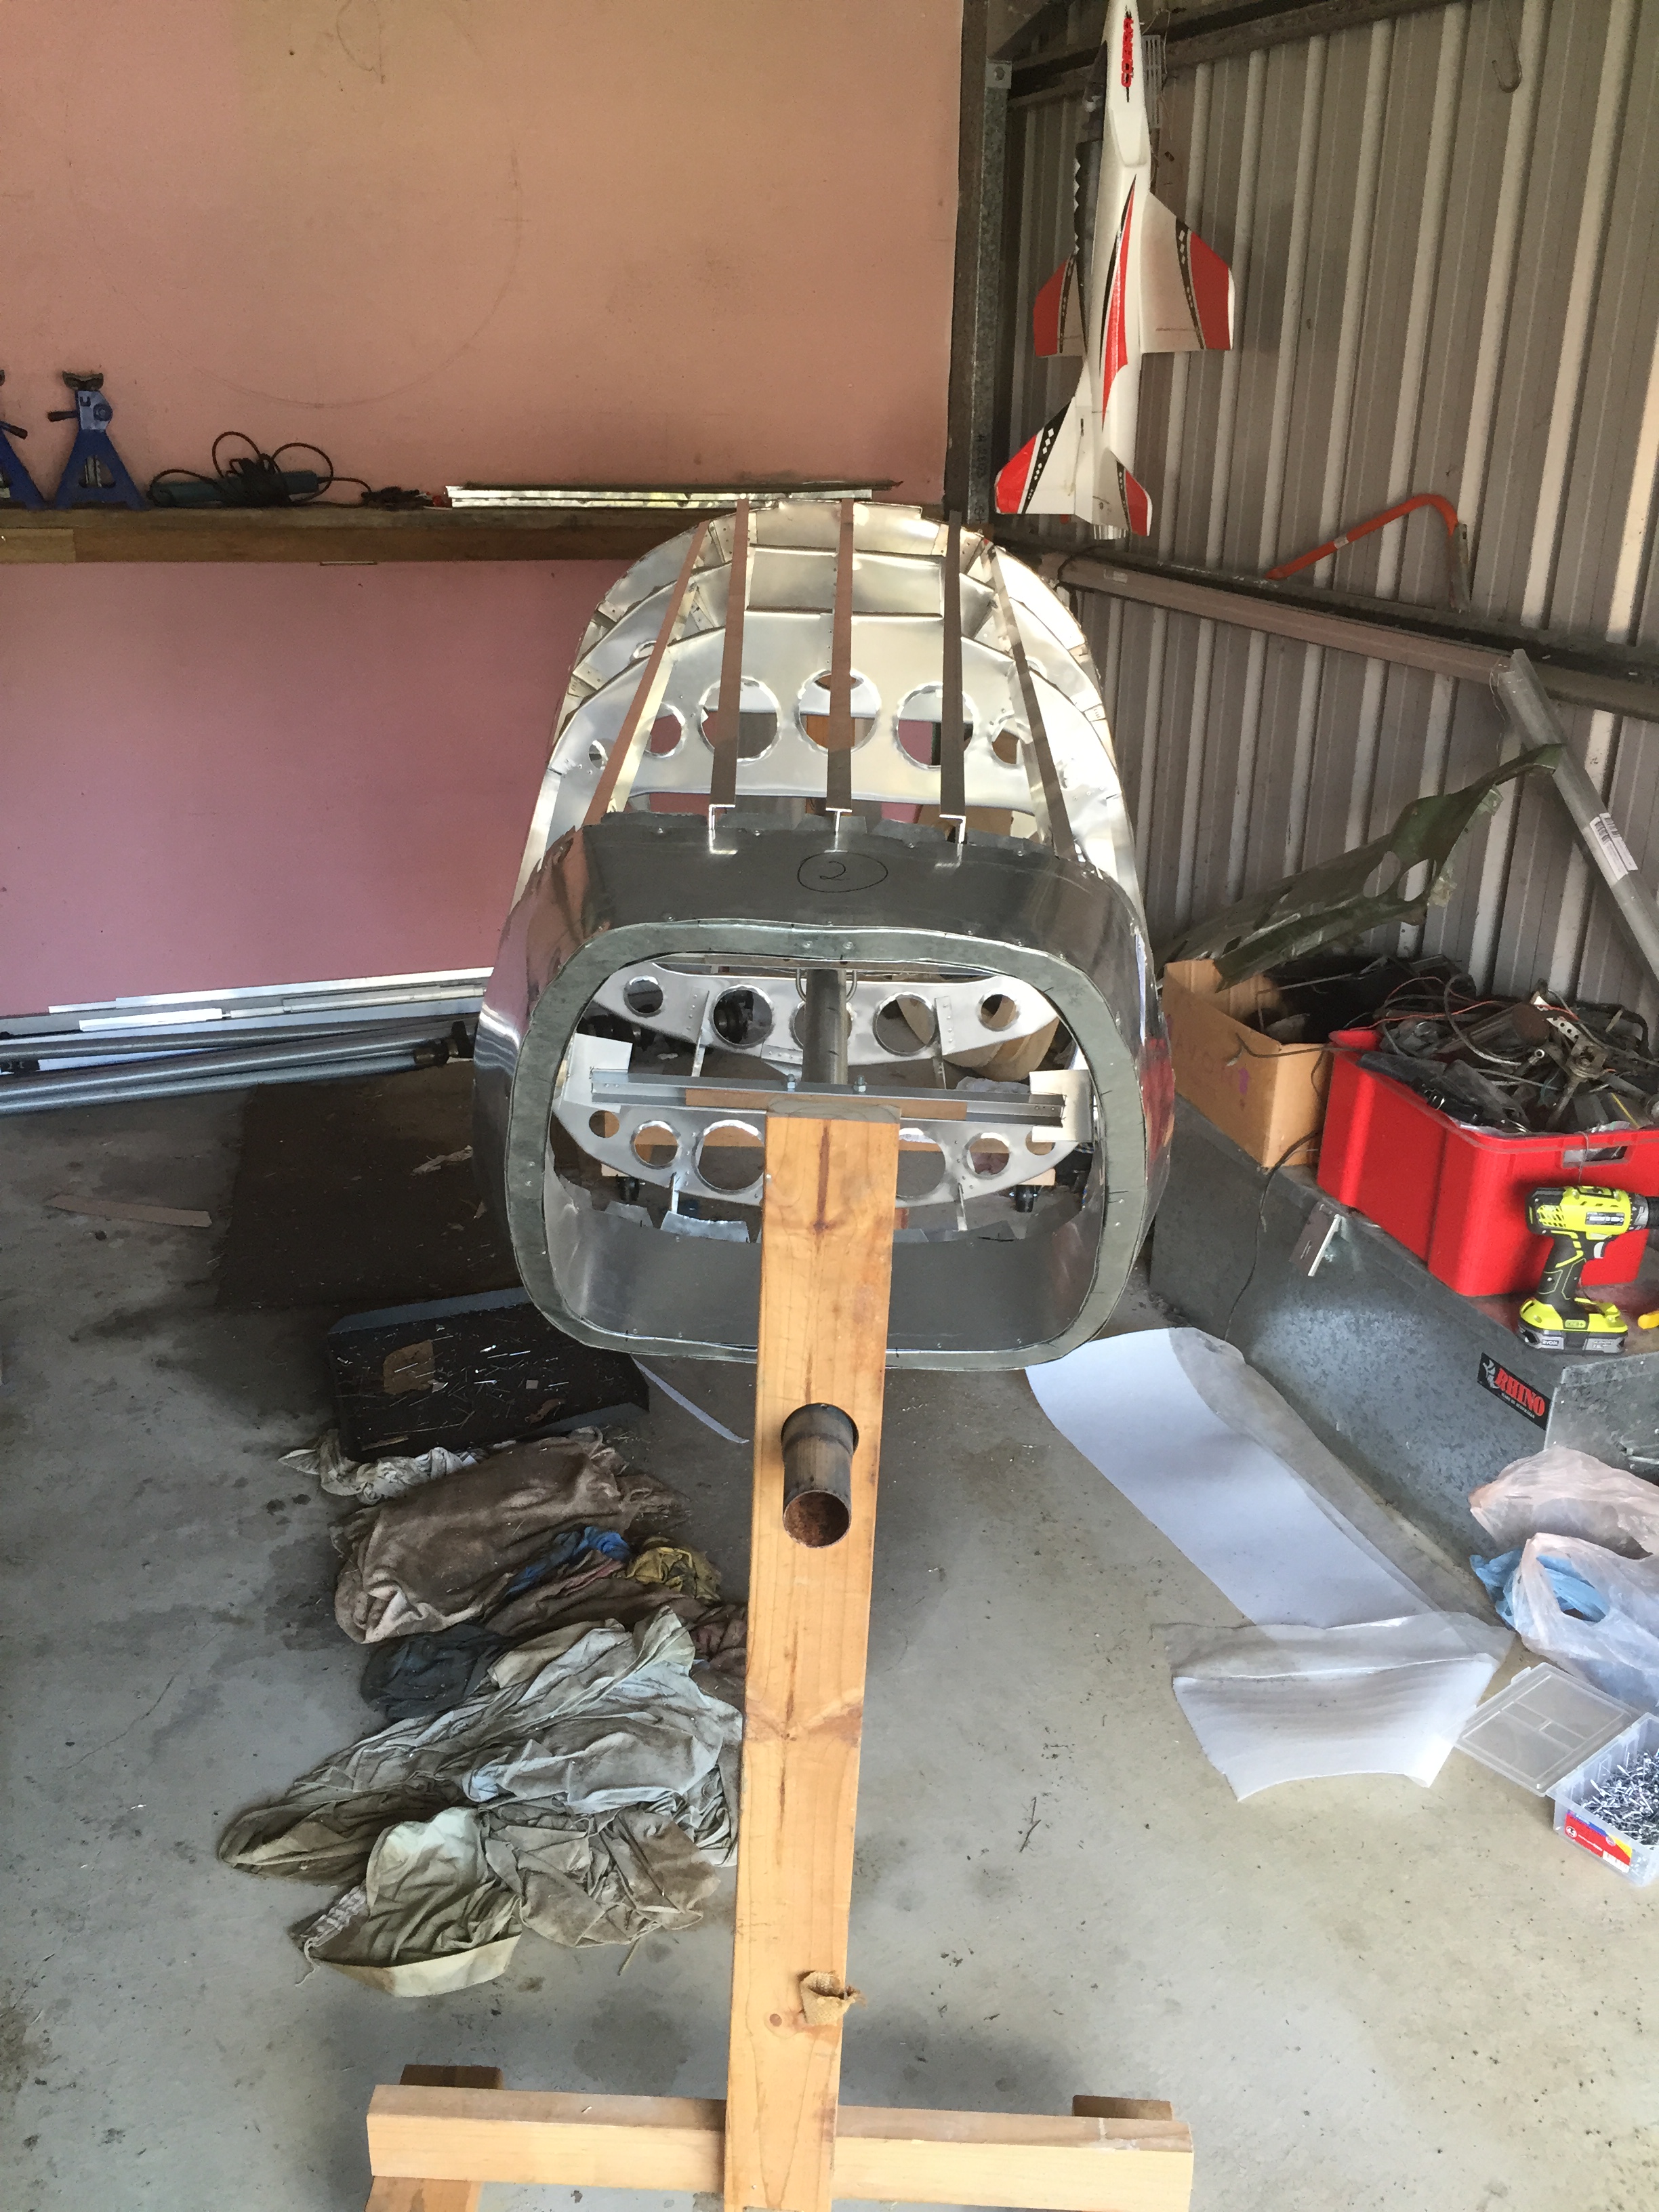
After many hours and many hundreds of rivets, the stringers are all attached. Starting to look like the genuine article!

Forward nose construction


Next time I’ll be detailing the development and construction of the inner intake nozzle.

I just stumbled onto your blog. Are you really building a viper? Holy shit.
LikeLike
That’s my plan 😊
If the nose section turns out according to plan, then I’m aiming to build the tail fin and so on.
Thanks for your interest!
LikeLike
Very cool! Some years ago, a determined friend of mine managed to track down all the electronics and aircraft instrumentation that Universal used to dress the live-action cockpit, including the actual correct joystick, a vintage Sony monitor from 1977, even the switches. He never did build his mock up unfortunately. Best of luck with the project!
LikeLike
Thanks Doug!
I haven’t thought about the cockpit interior too much at this stage, but it would be great to get a hold of the original joystick and instruments.
Appreciate your interest!
LikeLike
Looks like we both are working on the same project at the same type. https://www.facebook.com/groups/TheViperProject/
LikeLike
Thanks for looking goldcylon – great to see a fellow builder and I’m inspired by your efforts to date. Will be watching your FB page with great interest.
Cheers 👍
LikeLike