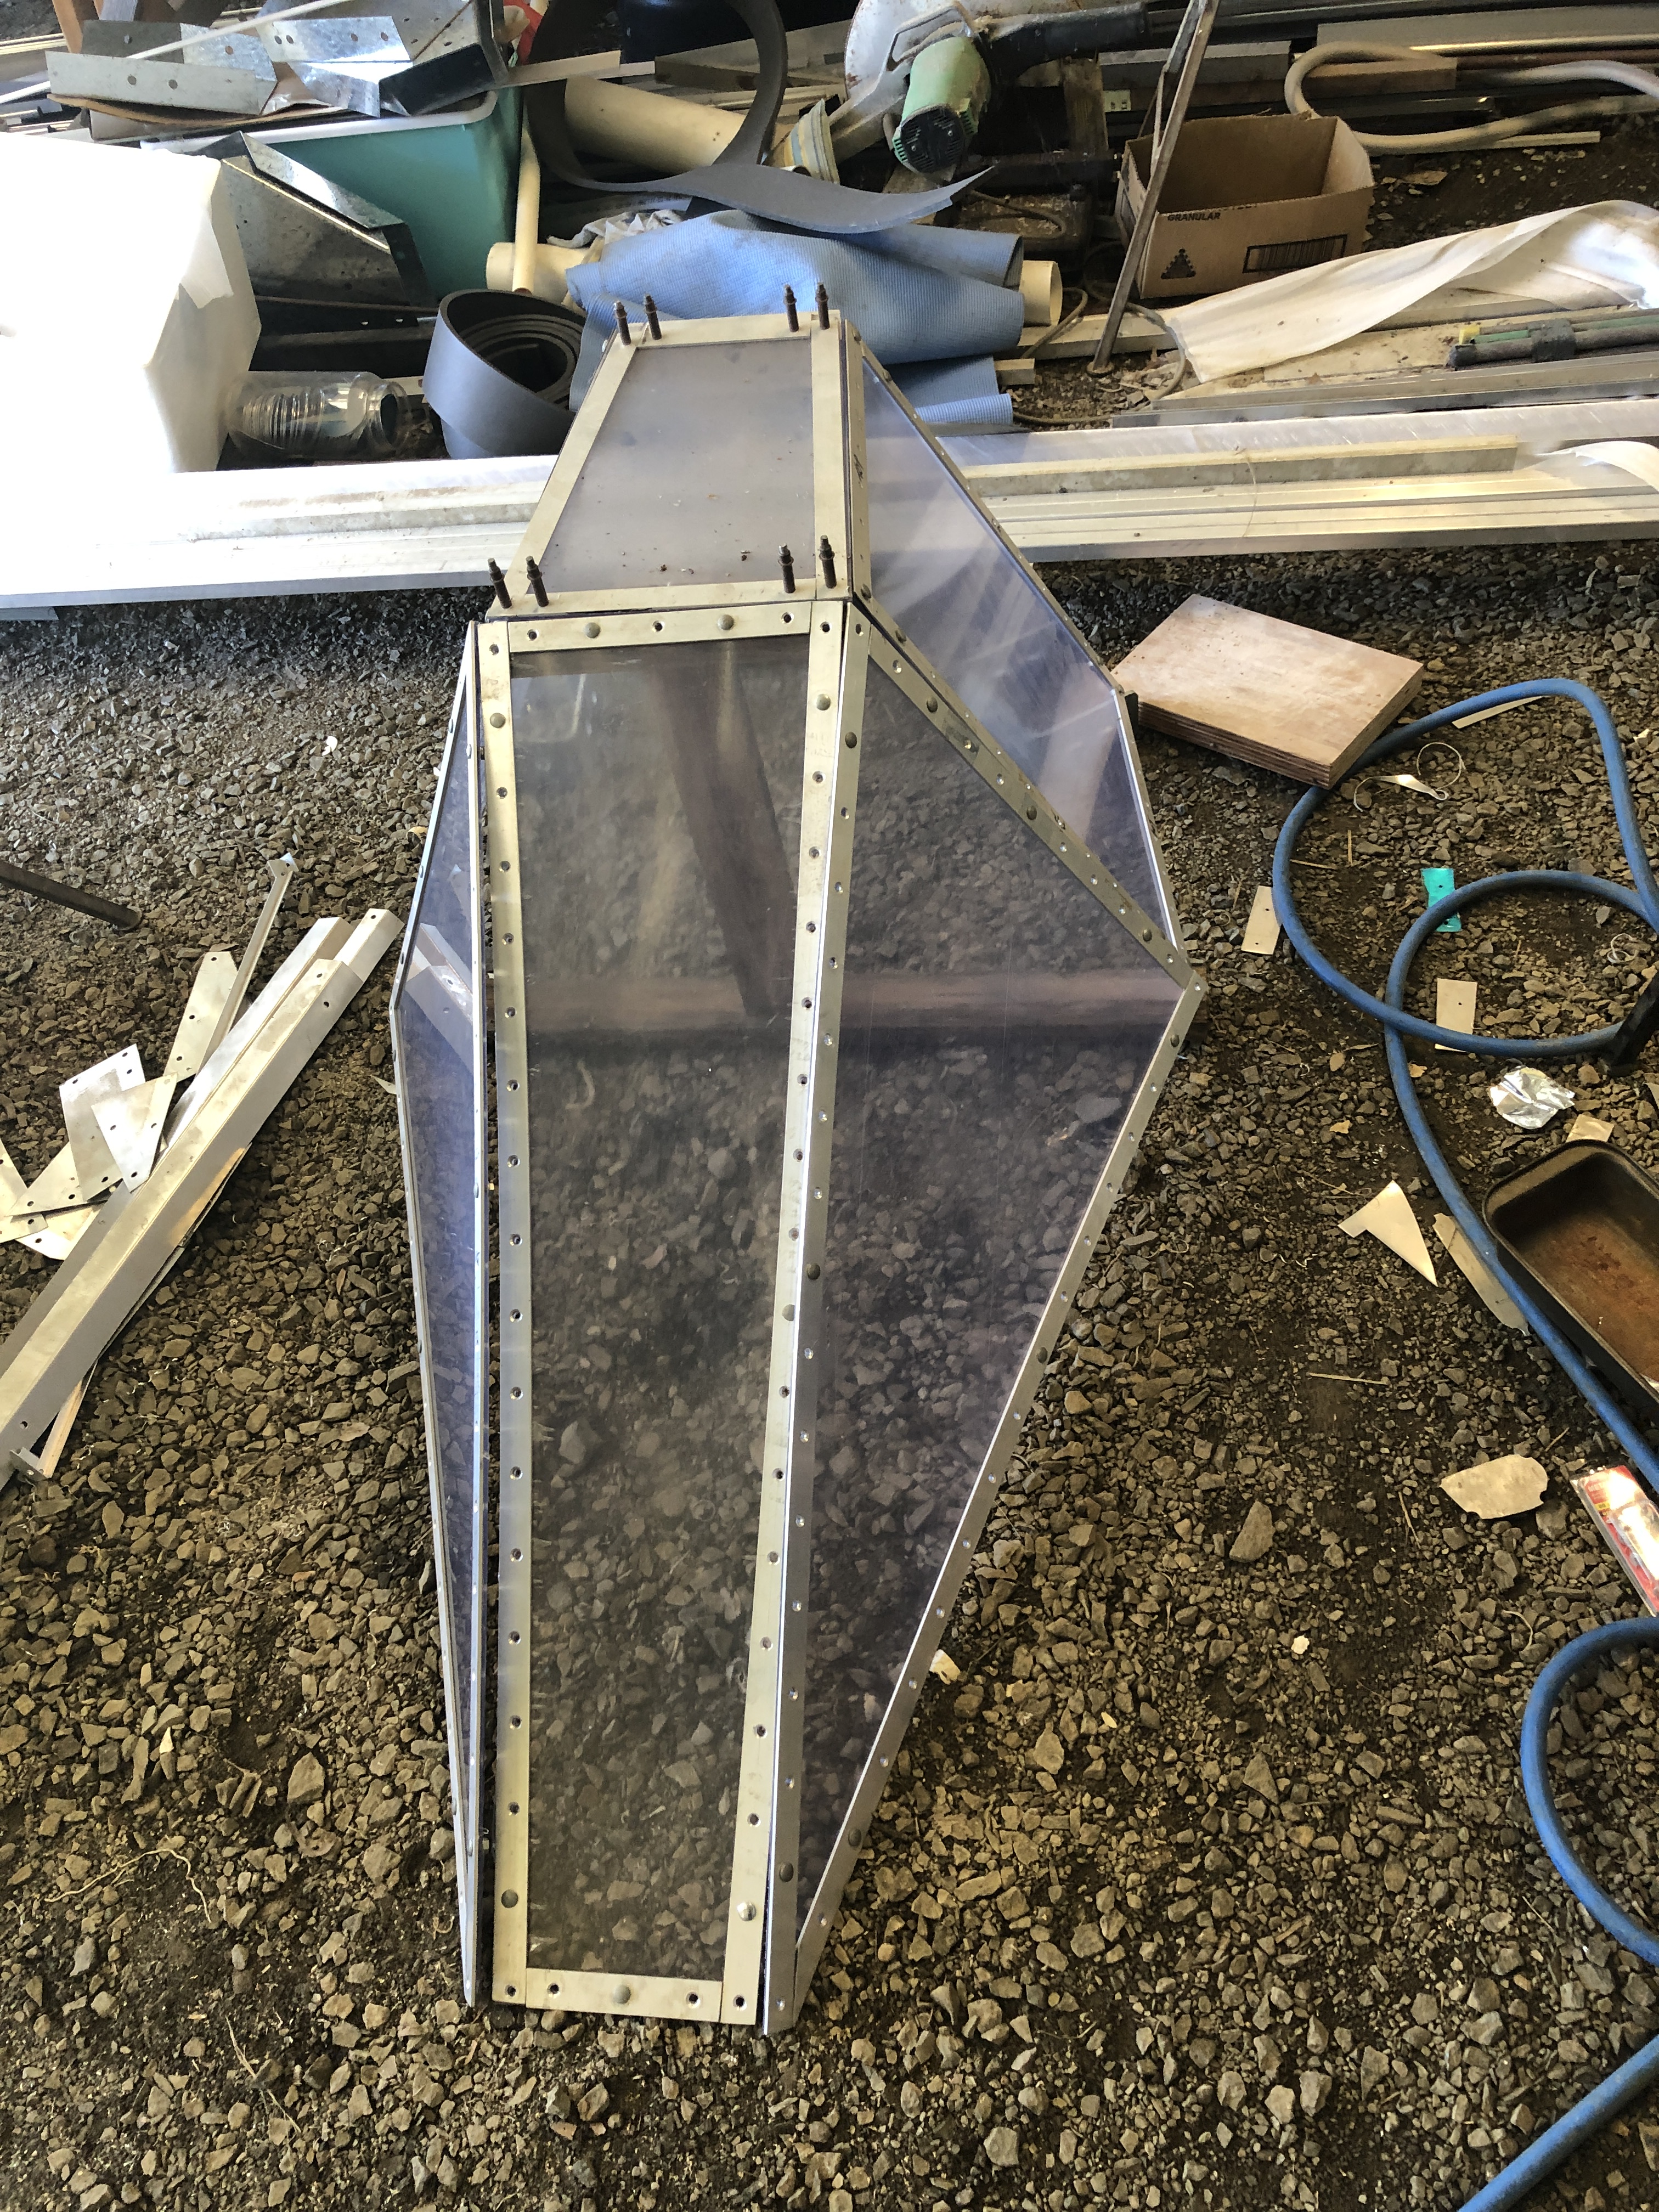
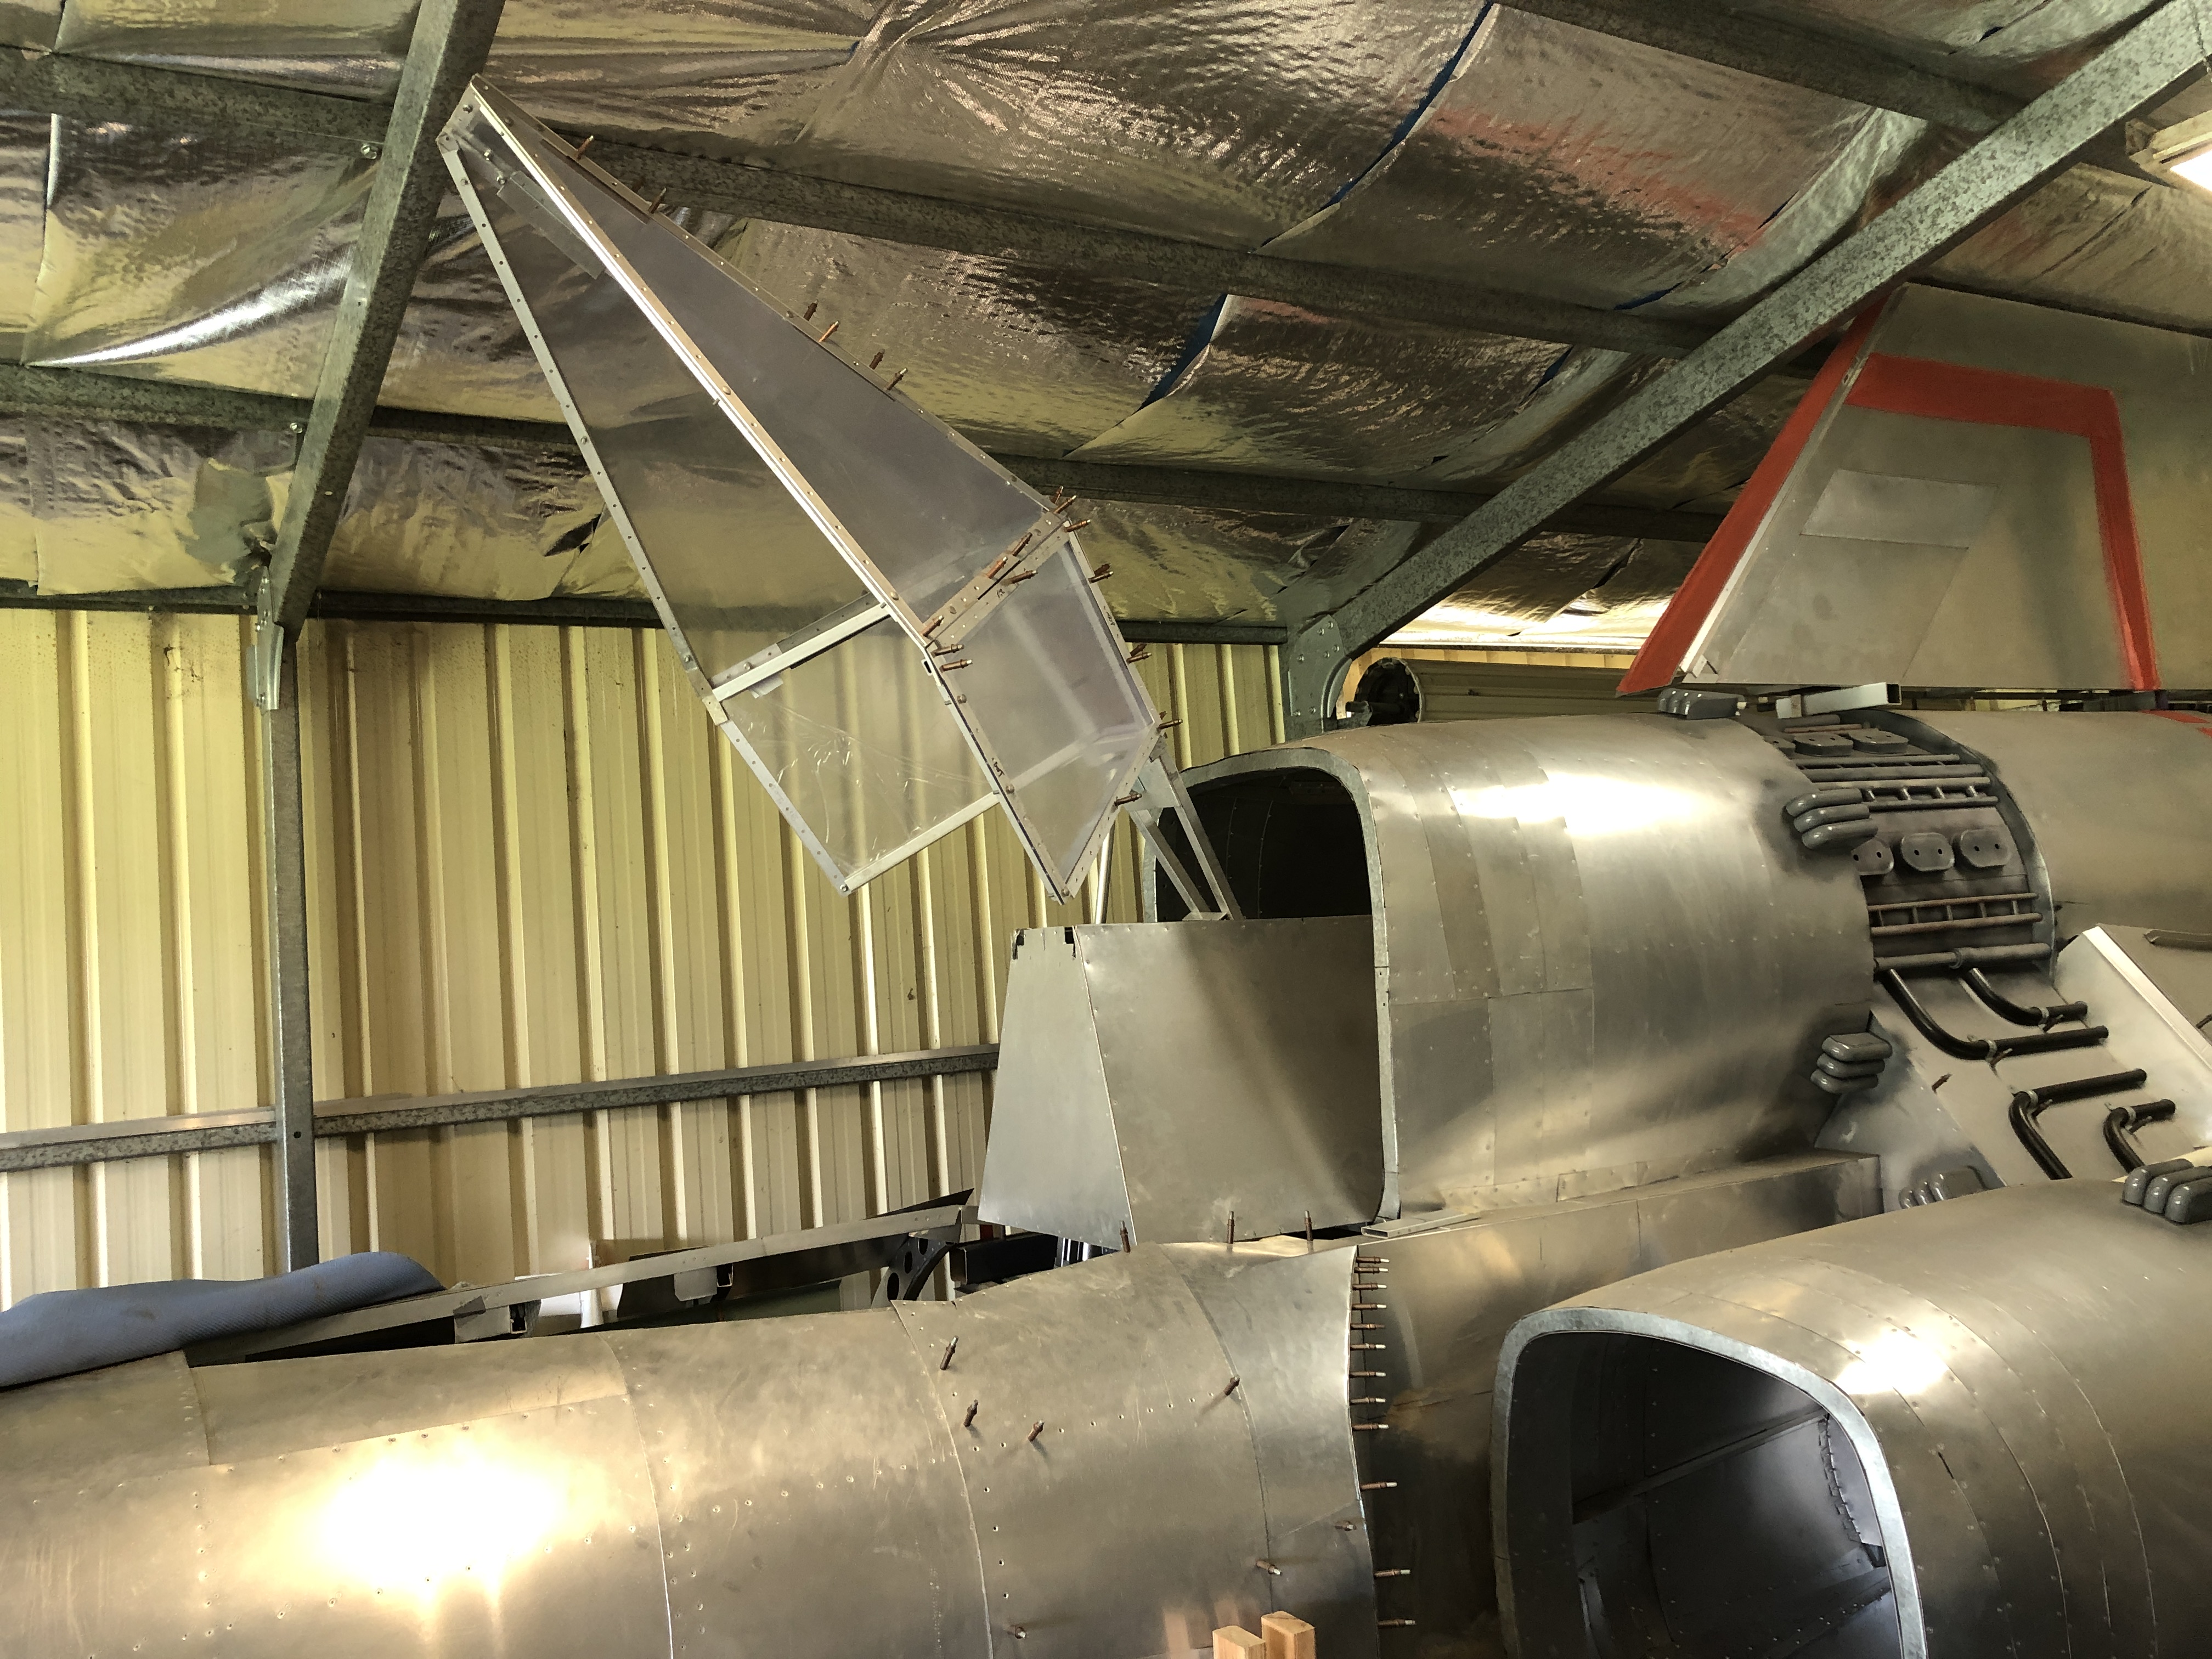
Recently I’ve spent a bit of time designing the canopy opening and closing mechanism. I wanted to replicate what was done in the show and figured it was probably some sort of hydraulic ram setup. After researching what was available for consumer grade hydraulic systems I stumbled across a device called a linear actuator. Basically 12 volt motor driven threaded shaft devices that are widely used for electric reclining chairs, moving solar panels, and with useful load ratings. A much more simple and cost effective solution for my requirements.
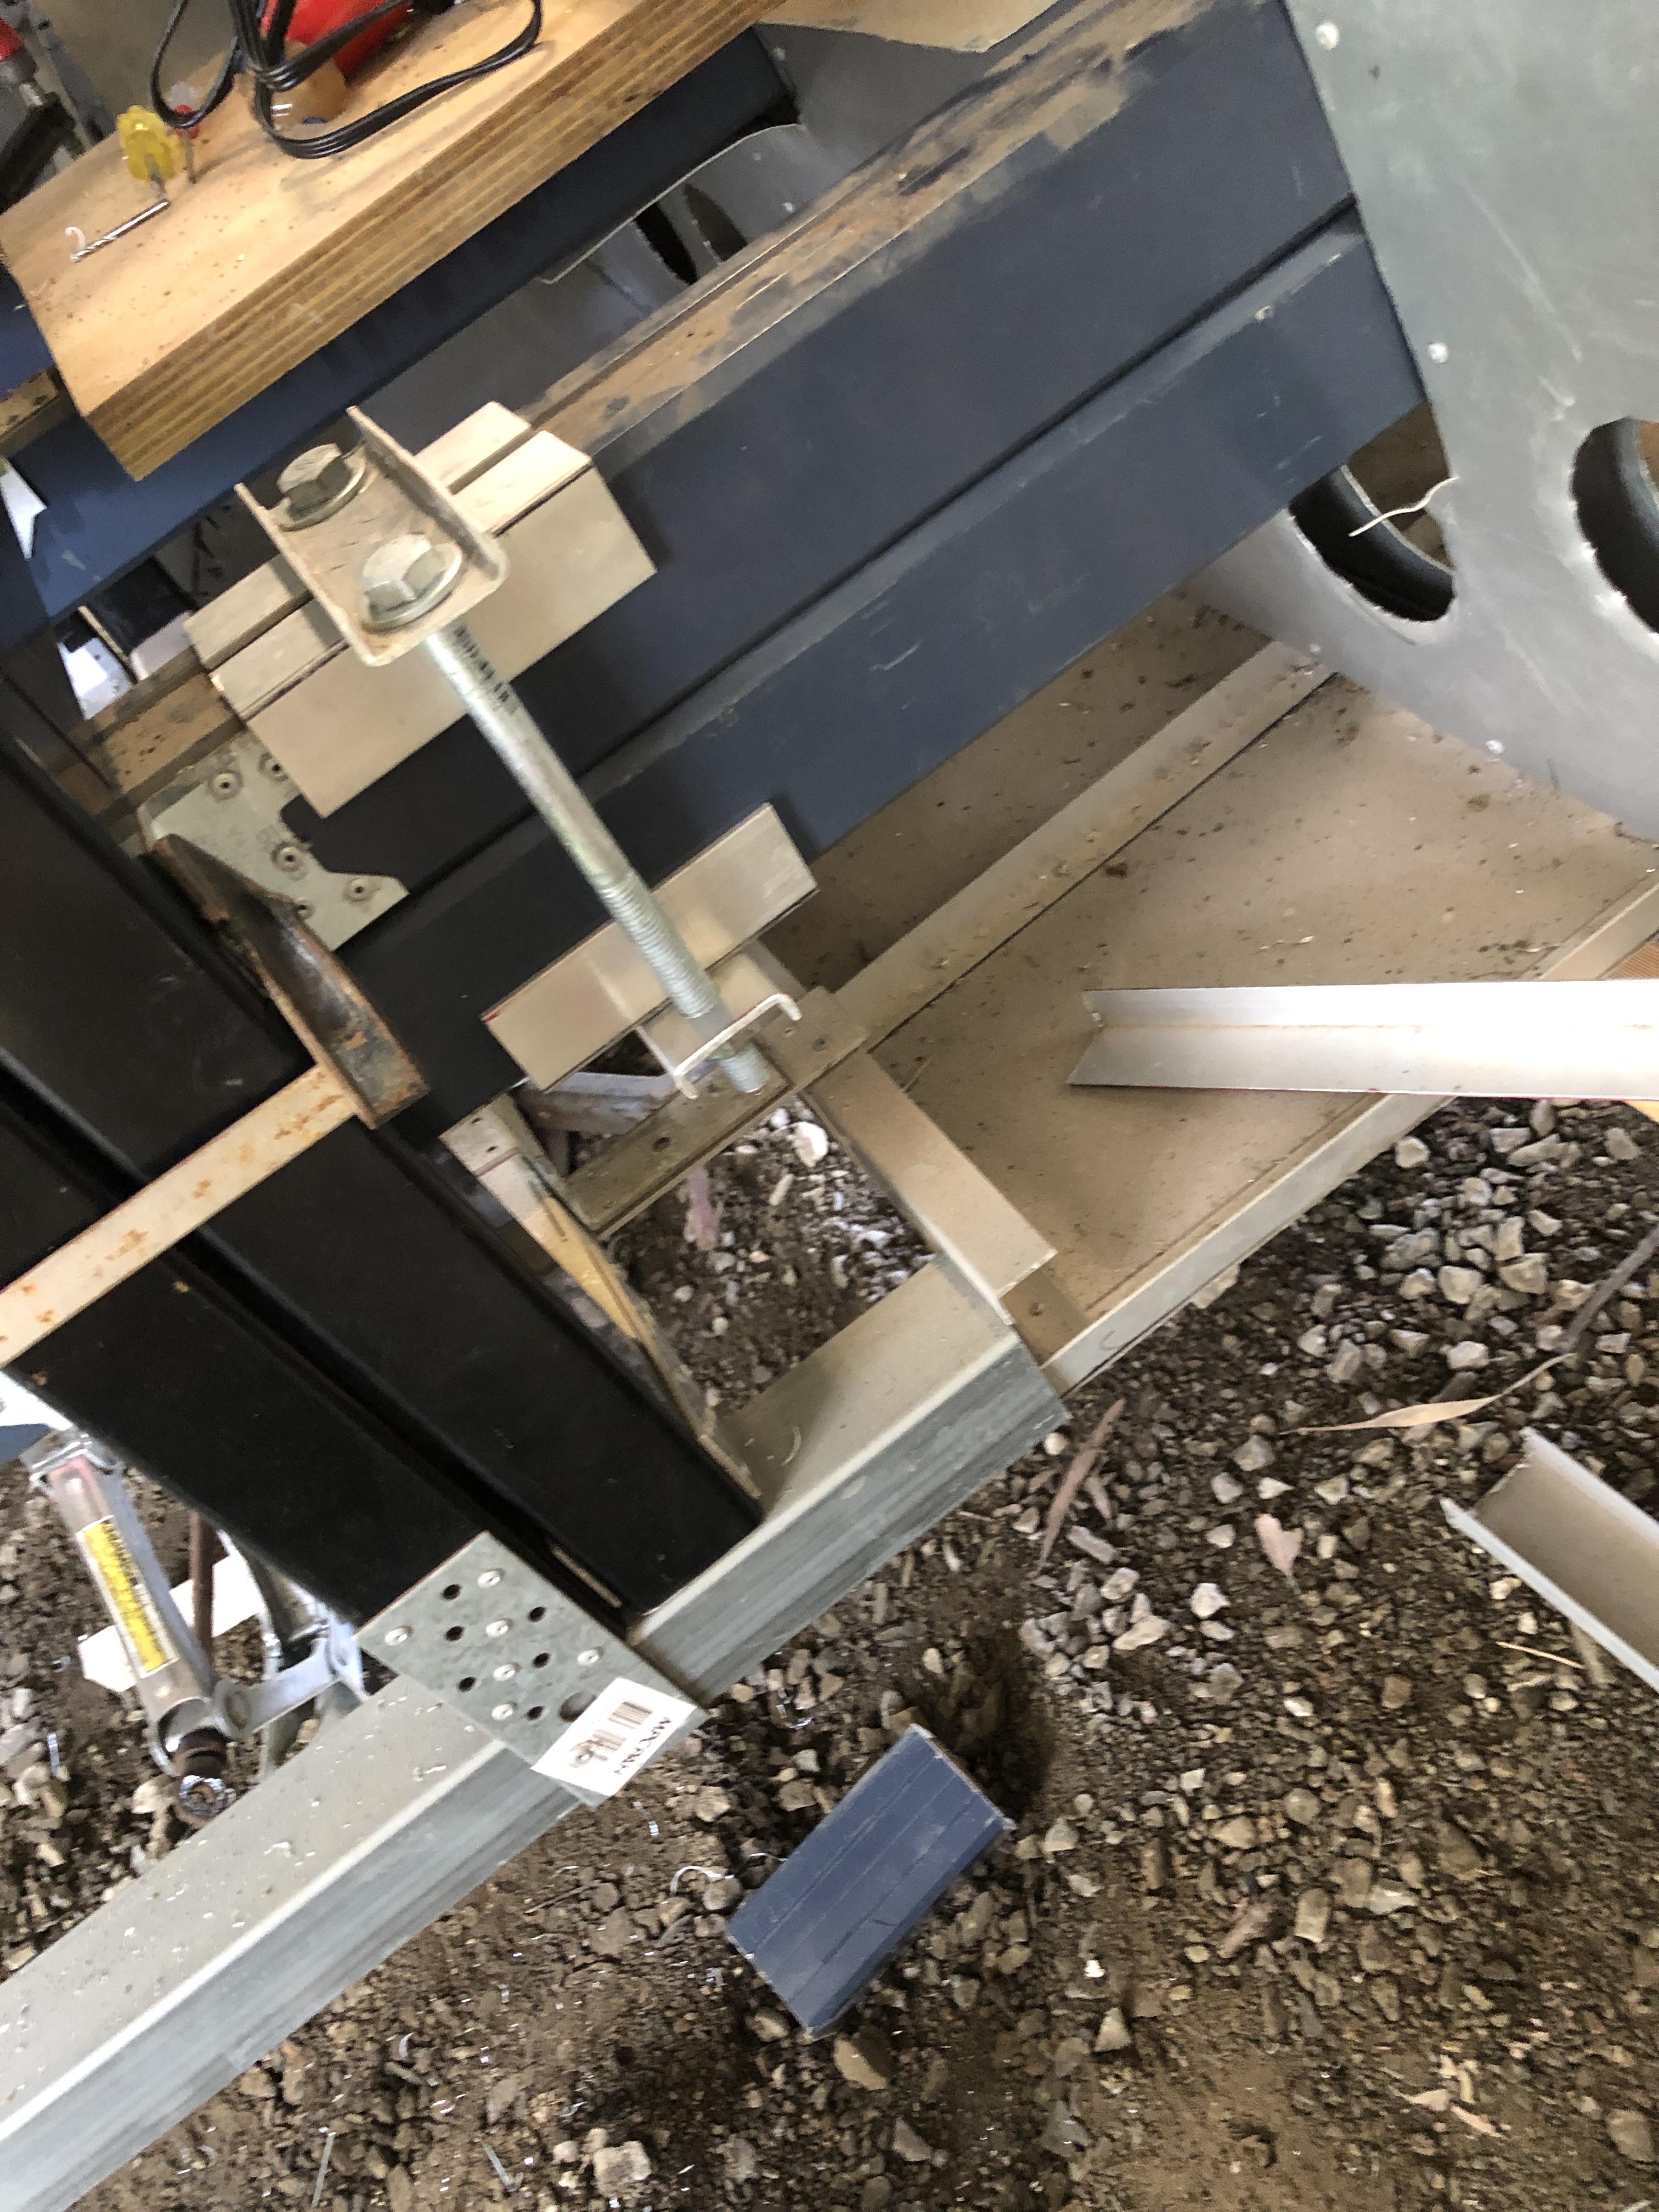
Firstly to work out how to piece it all together.


Then setting up the linear actuator:

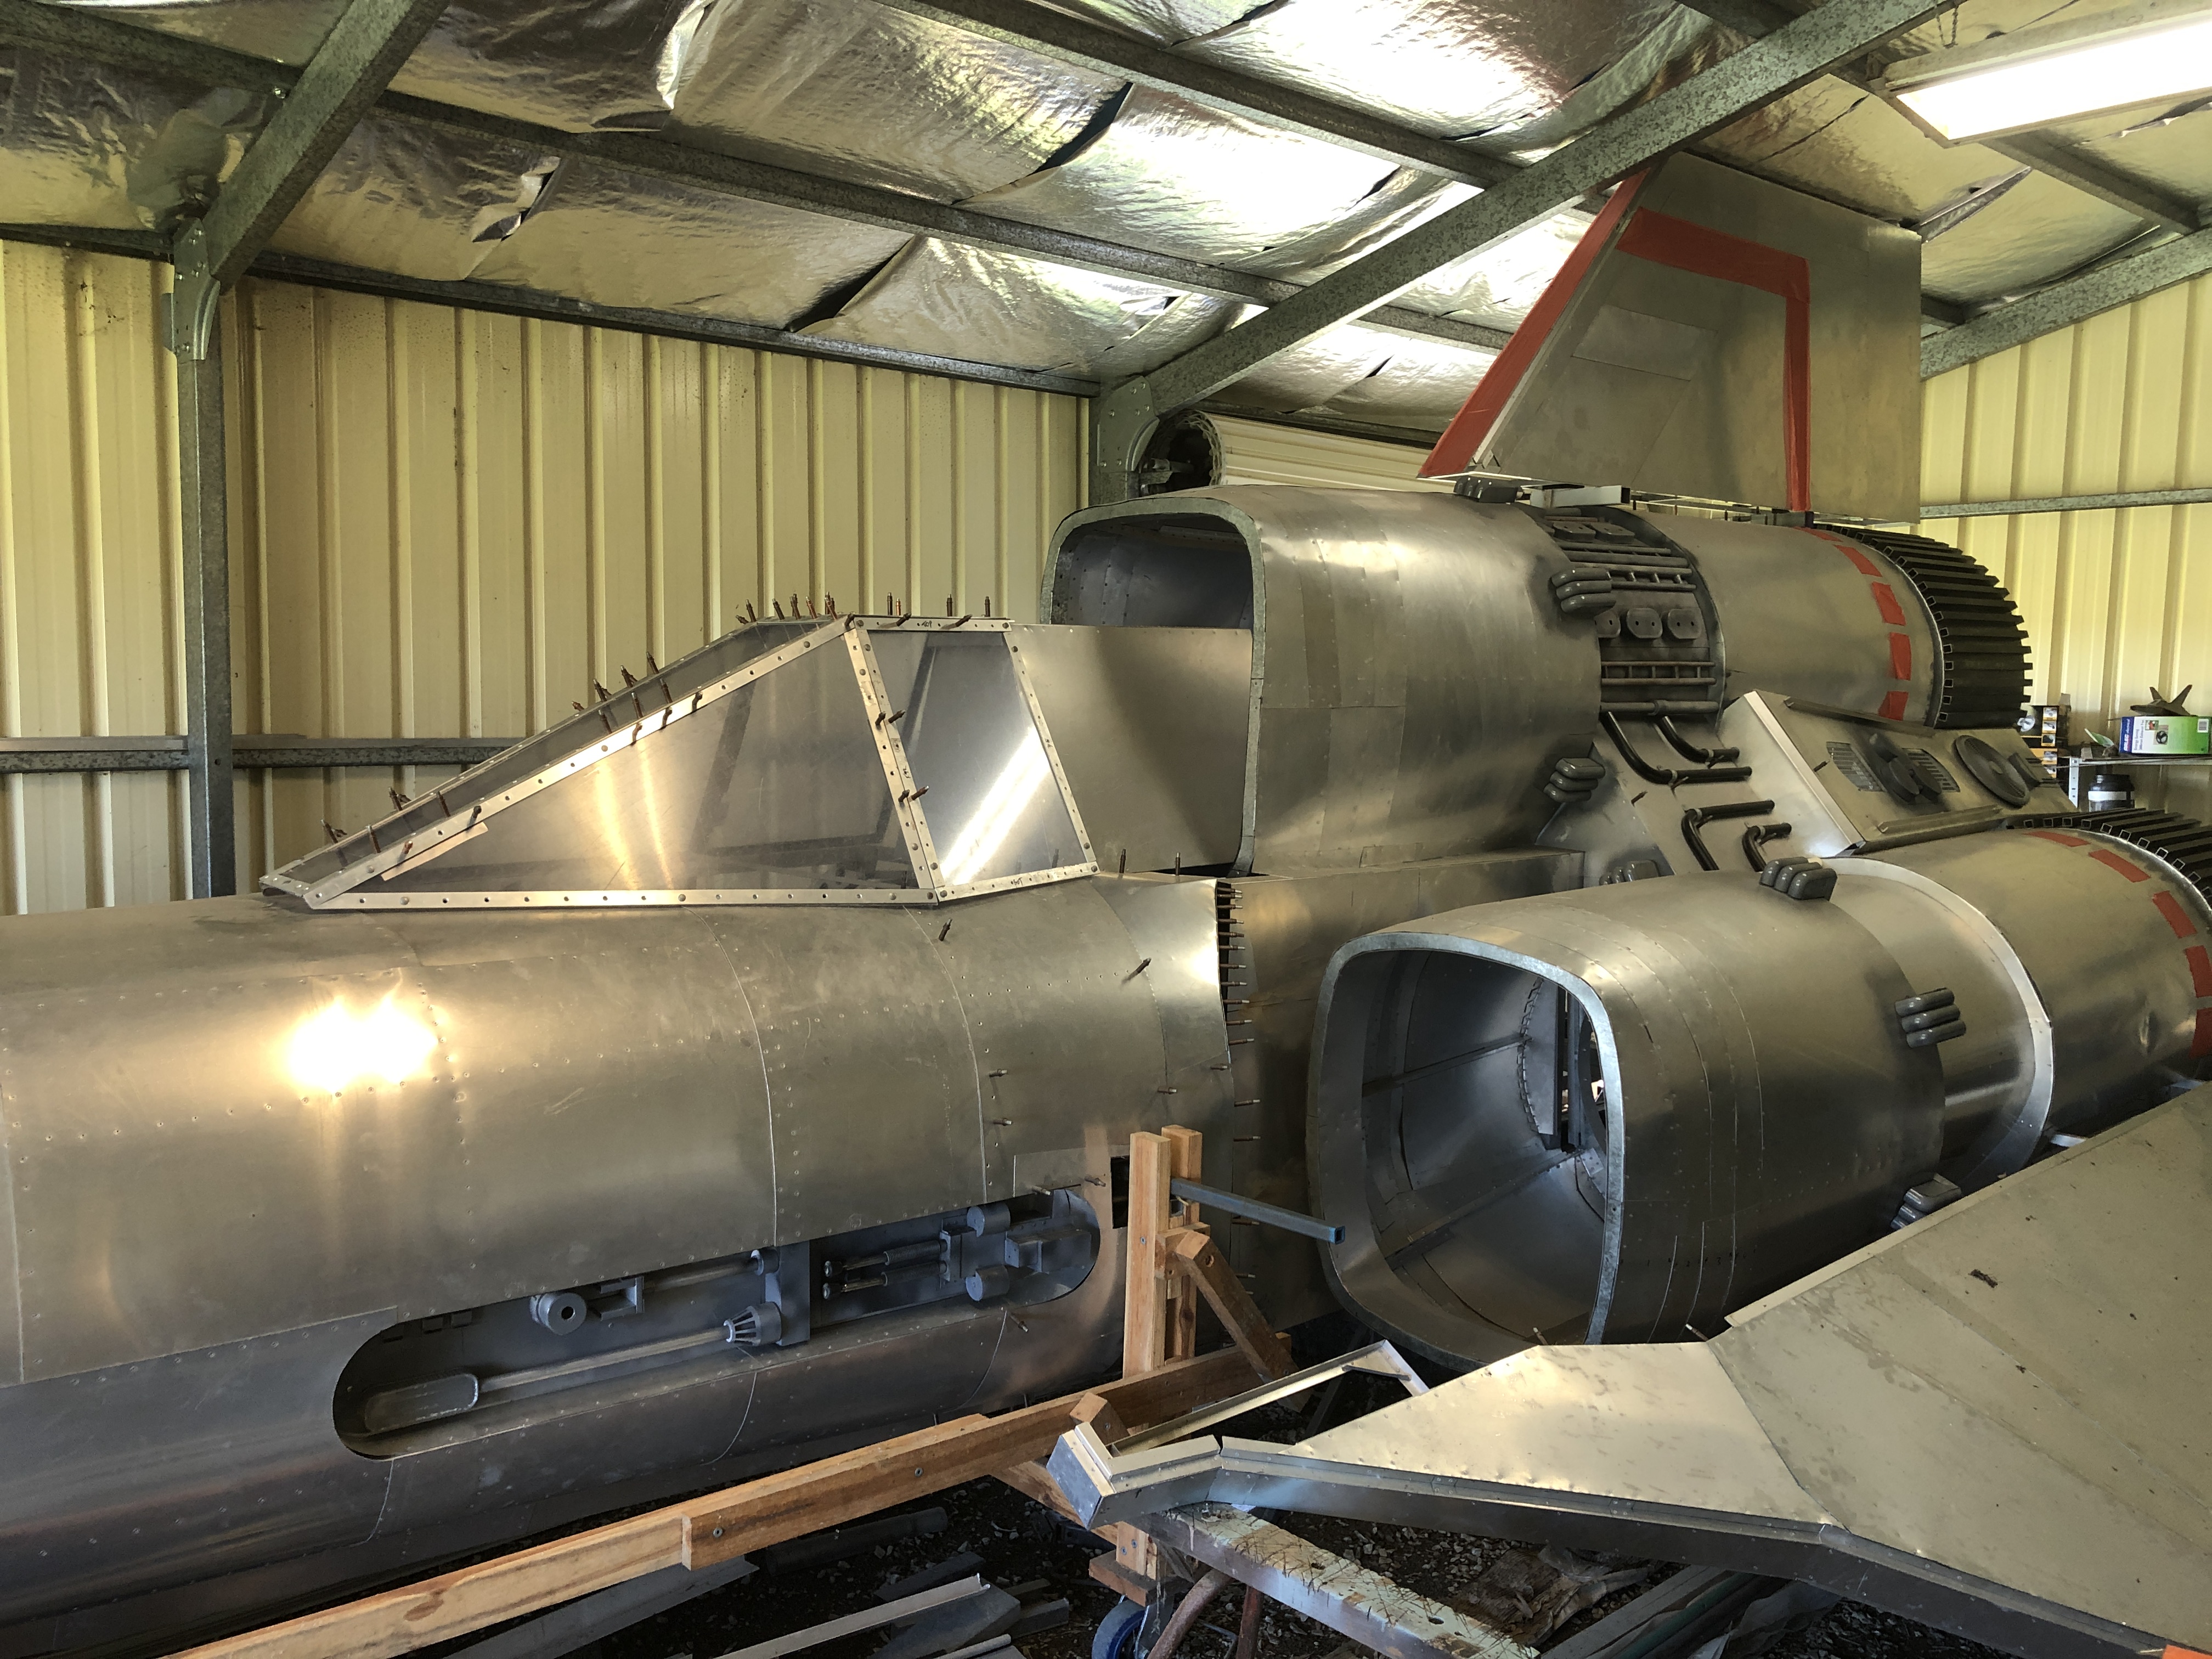
Putting it all in place to ensure everything lines up. I’m using a PC power supply with a fused output card with 12v, 5v and 3v out – this will enable me to power the electric motor functions, as well as the cockpit electronics and lighting. I bought a controller for the linear actuator, which also incorporates a wireless feature. The actuator itself has a rated load capacity of 300N or 30kg (66lbs) and 30mm/s speed rating – seems to be sufficient for the weight of the canopy, although it is noticeably slower when raising.


Putting it all together as a proof of concept – I’m happy with the way it’s looking and functioning. Still plenty of refinement to get it all lined up correctly and working smoothly. See the Youtube clip link for the live action demo.


I can see other uses for linear actuators with the build, including the landing gear struts – this would allow me to raise and lower the height for transport and display purposes. From what I’ve seen, actuators with rated loads of up to 6000N (approx 600 kg or 1300lbs) are commonly available.
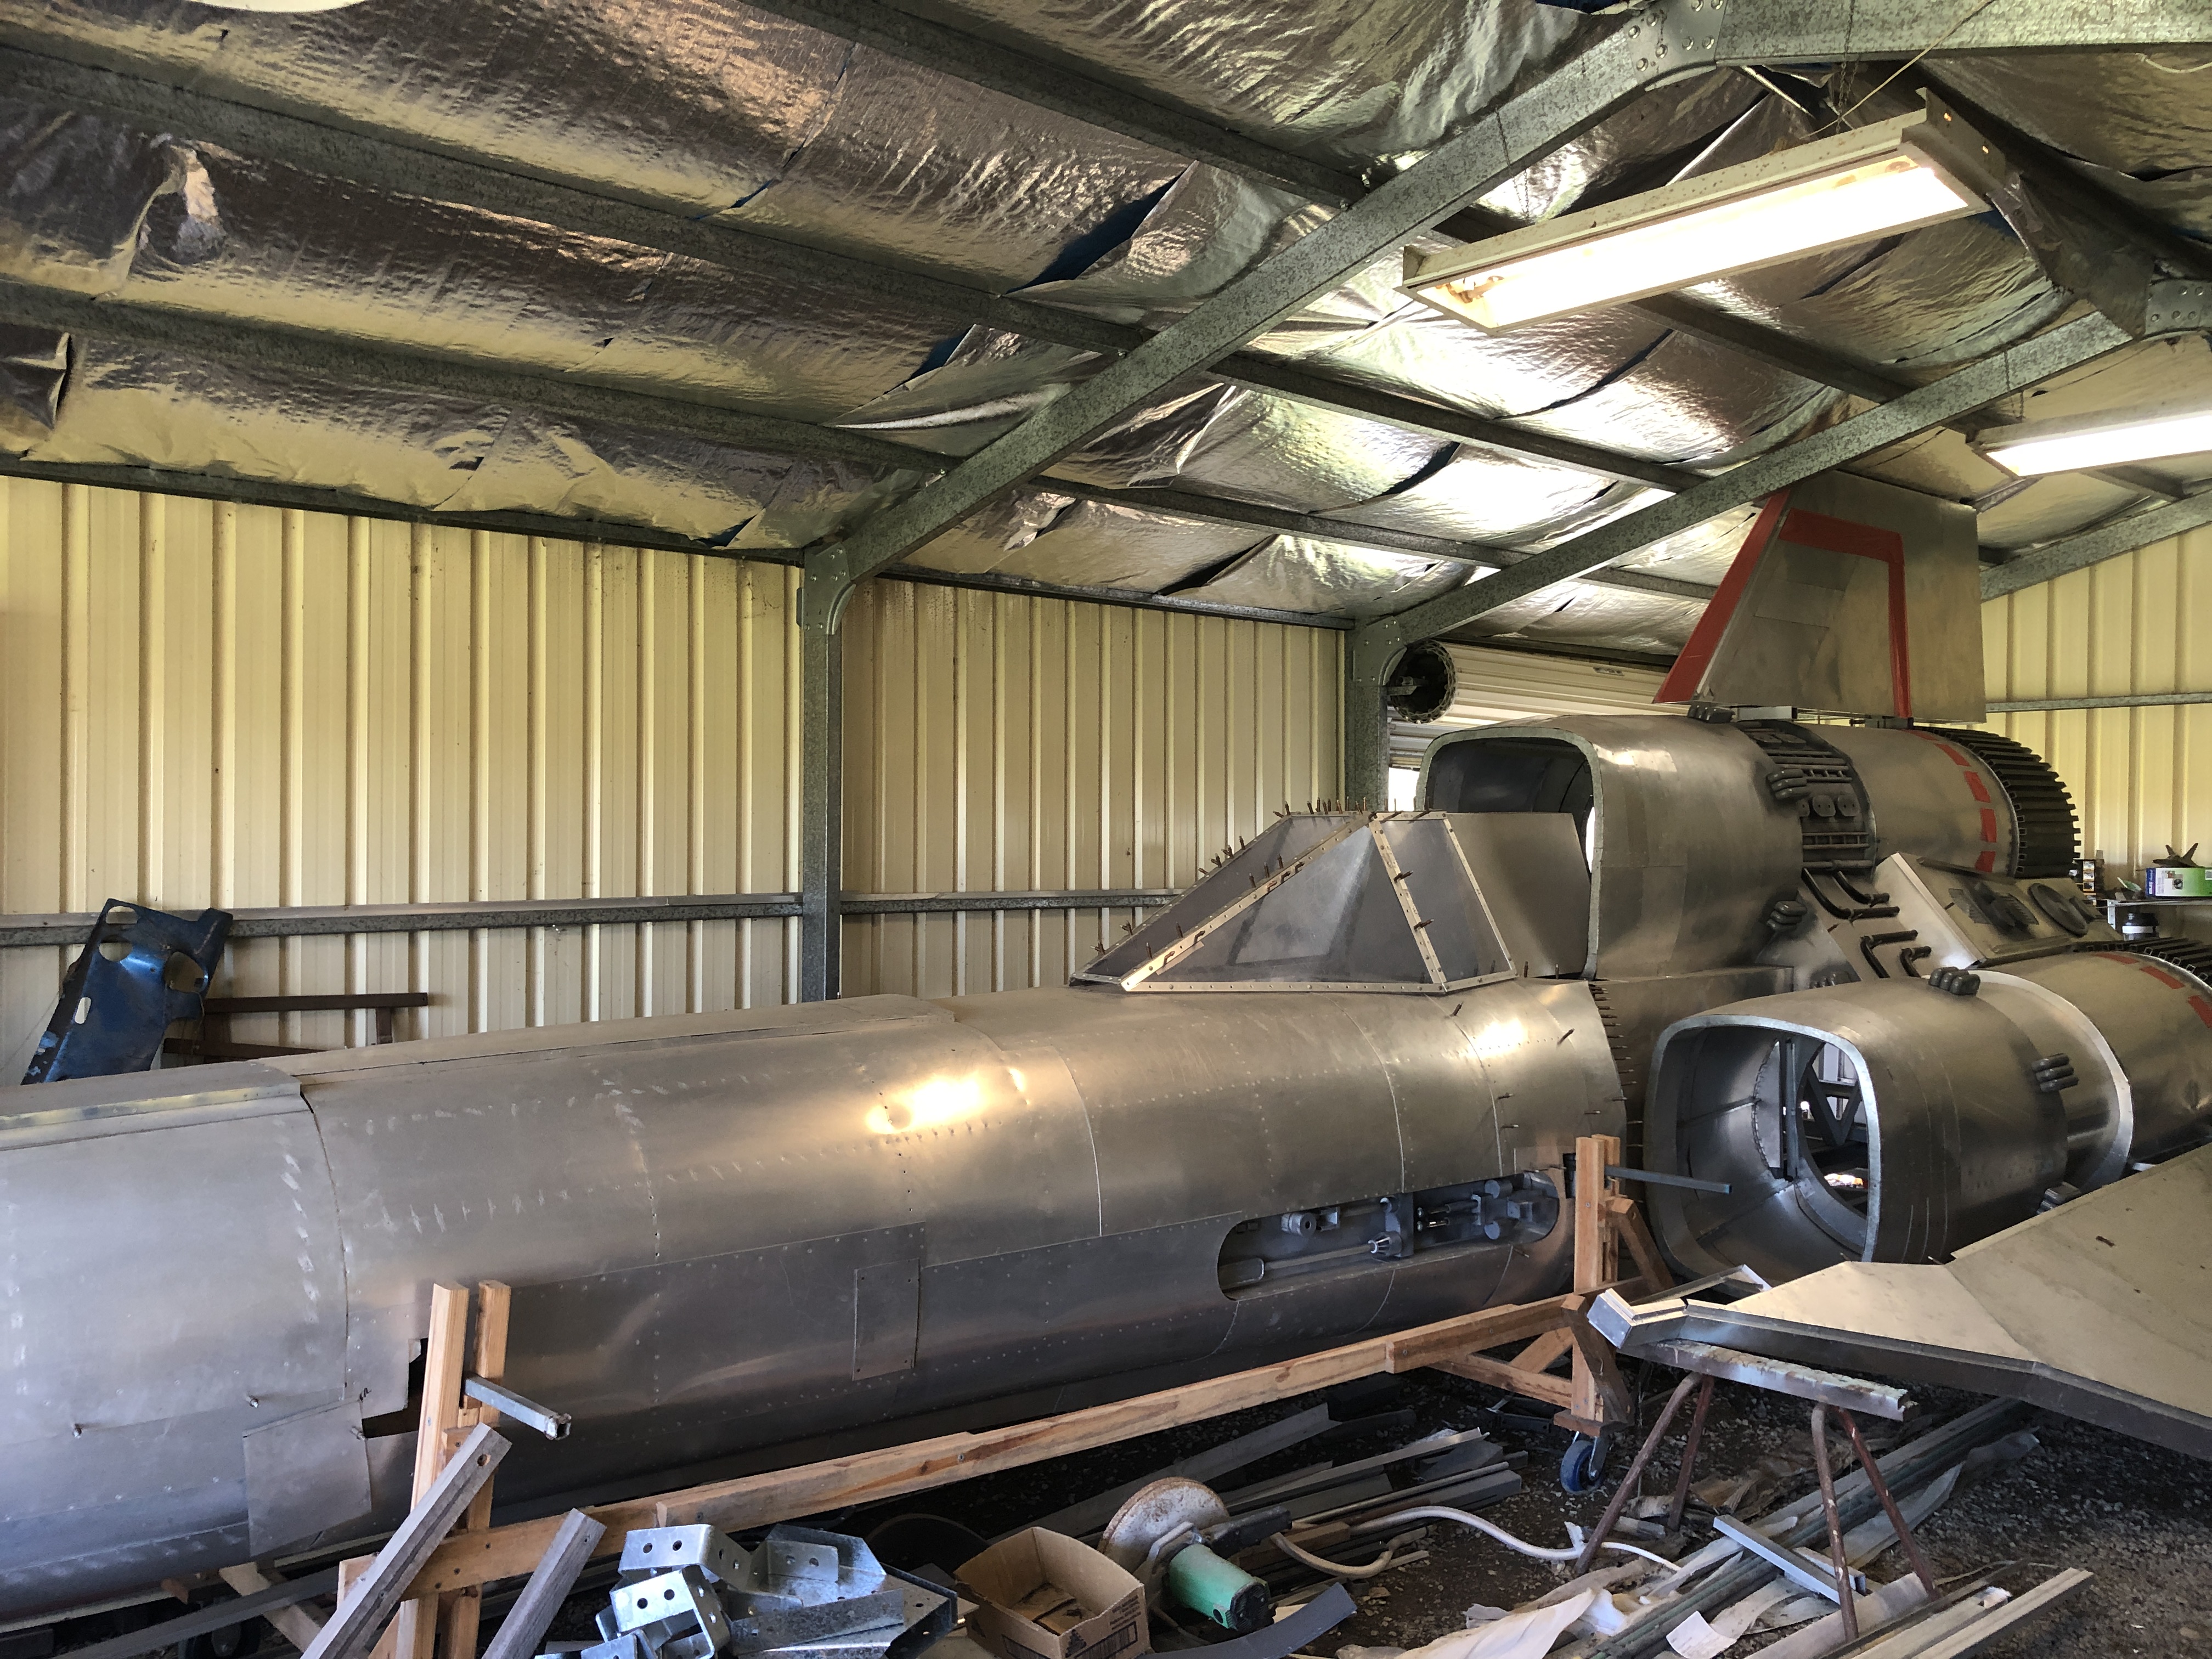
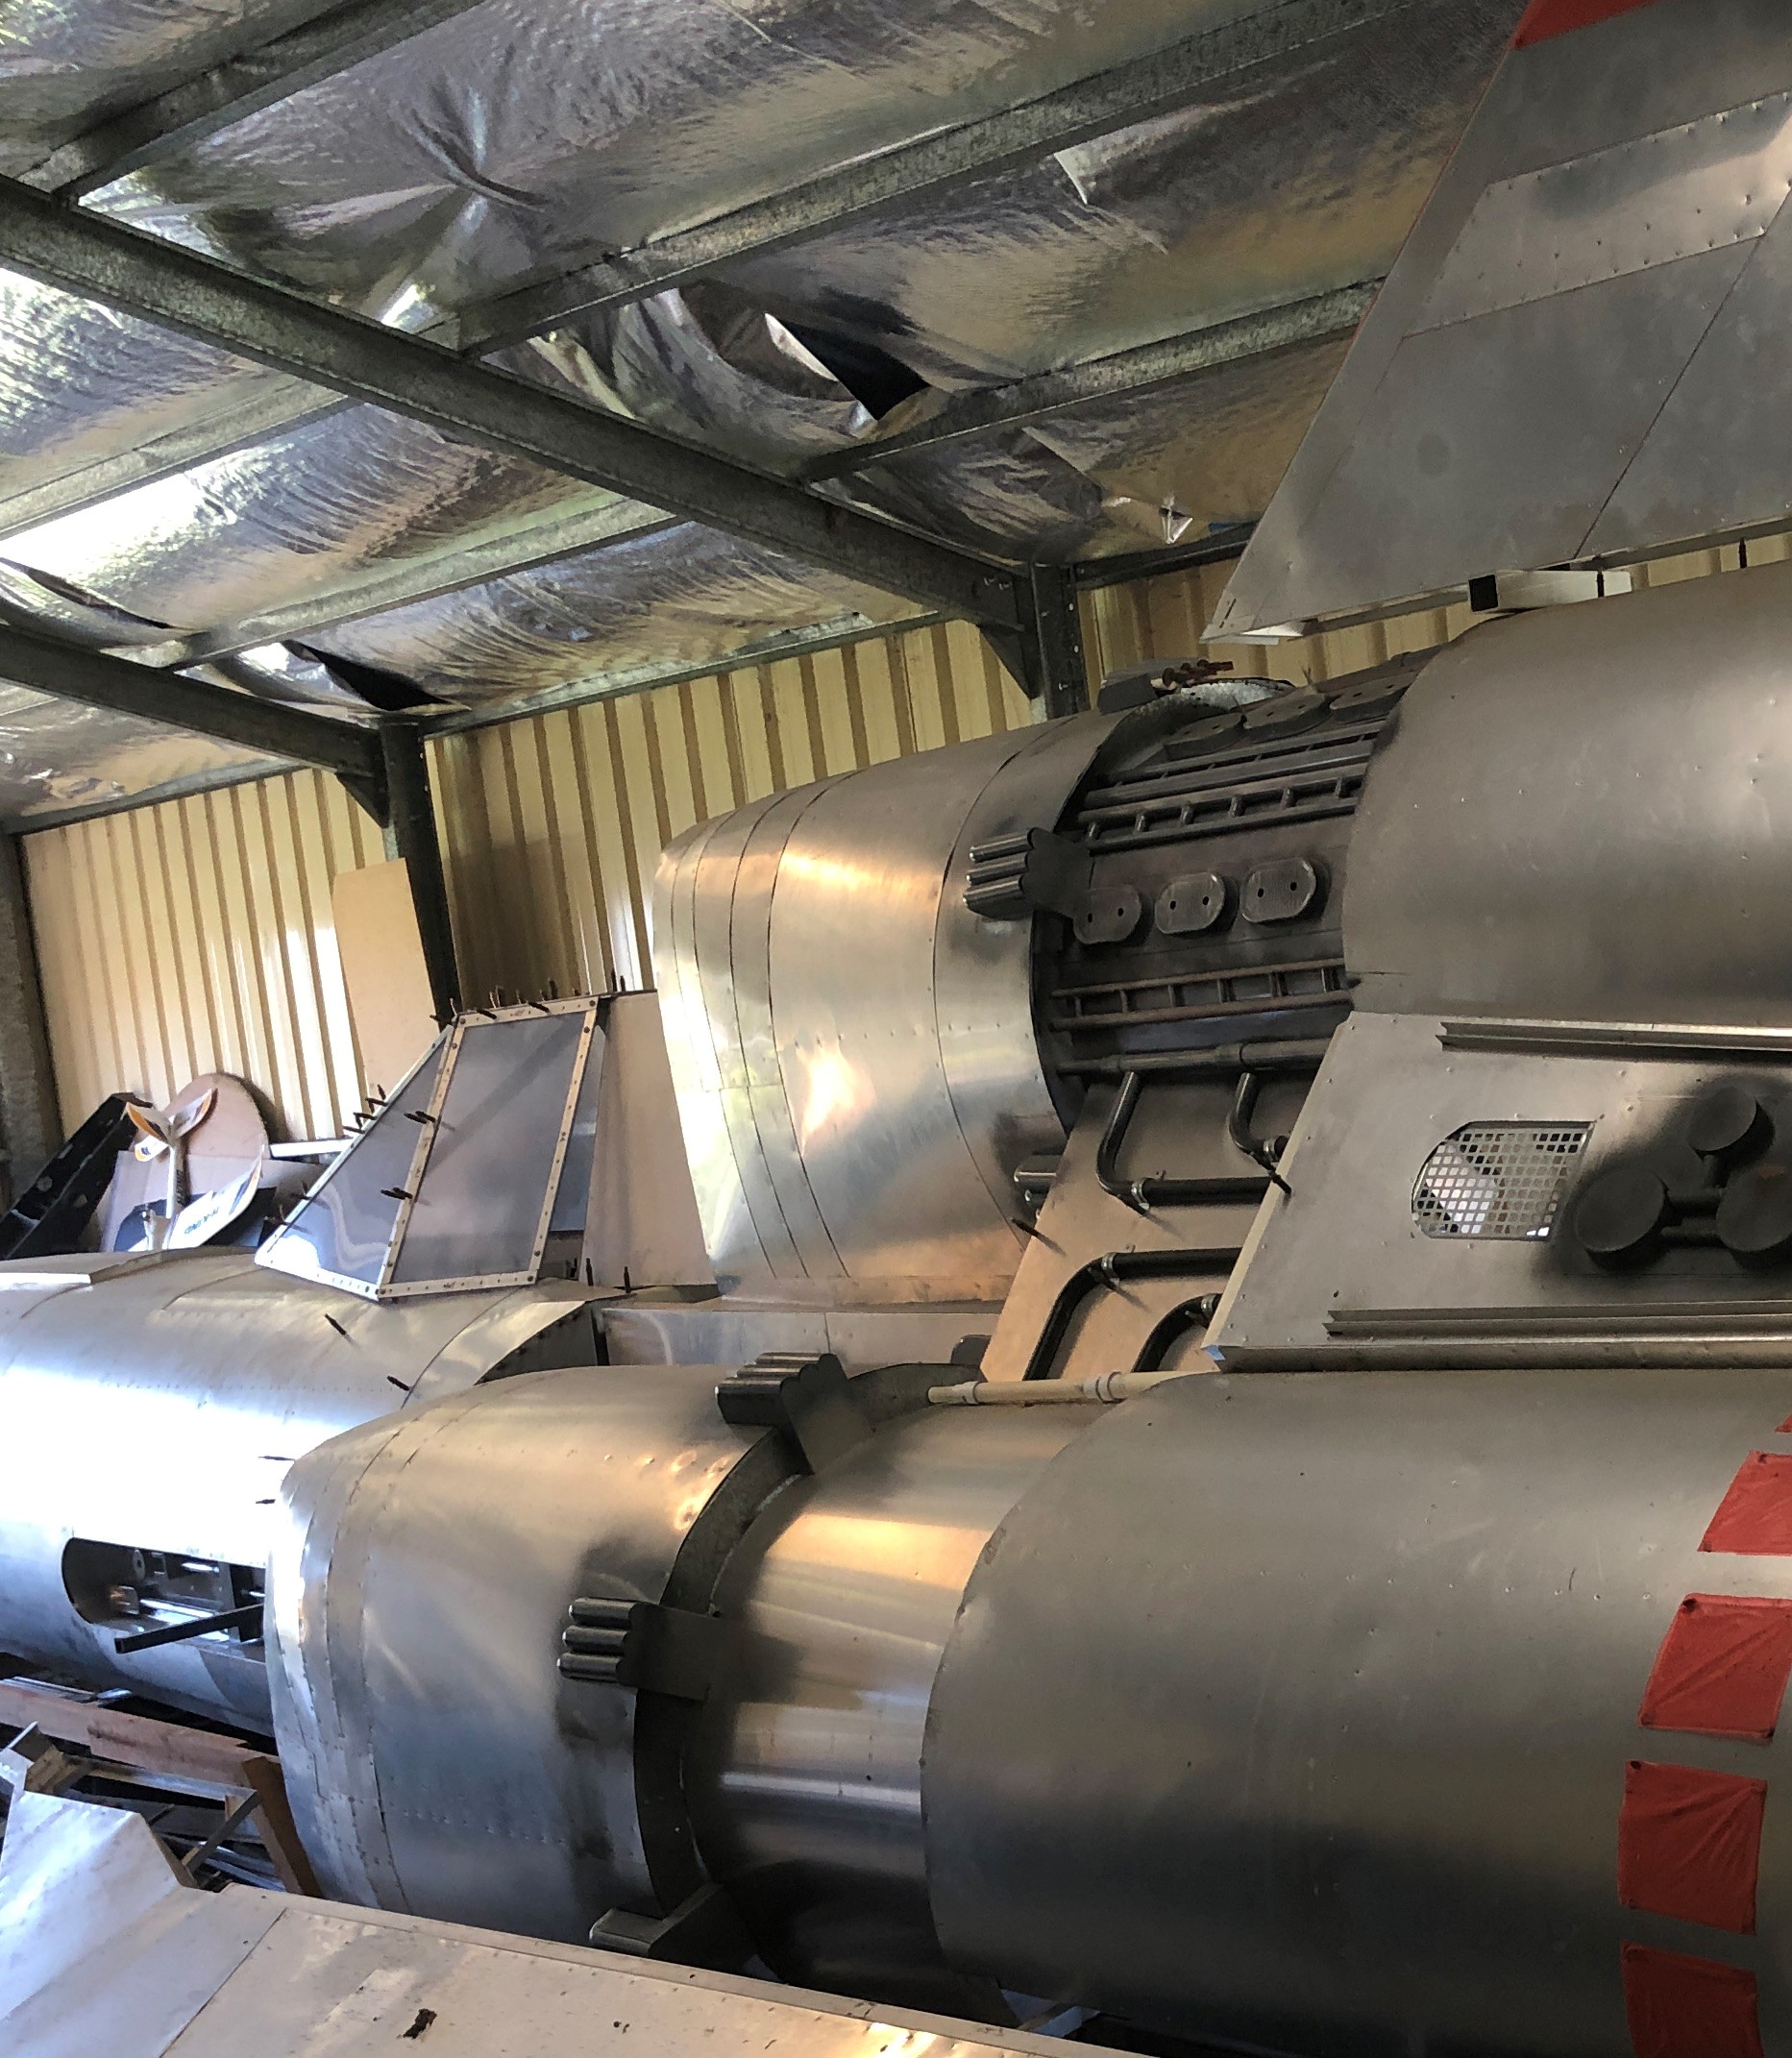
As part of laying out the canopy mechanism, I was also forced to finally join the front and rear sections of the fuselage. I made up some brackets and along with M12 x 180mm (1/2 x 7 inch) bolts I clamped everything together nice and tight. The whole fuselage feels nice and robust as a single unit and I can imagine it will only become stiffer as I continue to sheet the starboard side.

Farewell for now