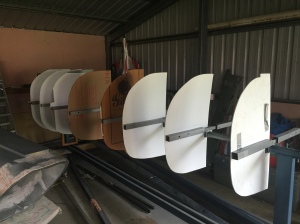
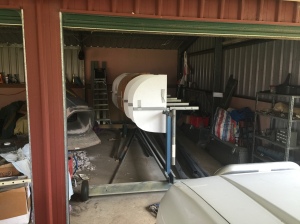
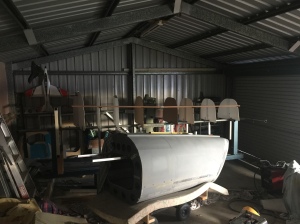
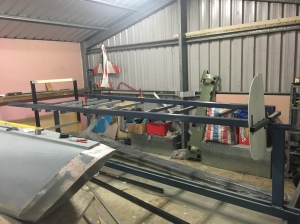
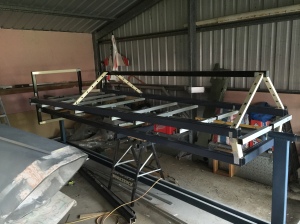
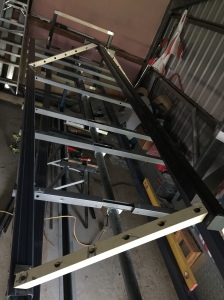
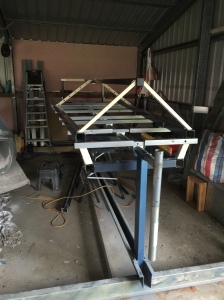
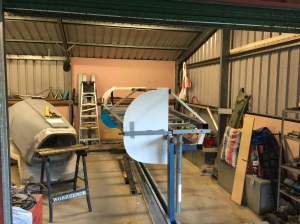
I’ve been busy setting up for construction of the Viper’s main fuselage. I’ve built a larger and more robust rotisserie jig to assist me with this part of the build. It will also be useful for the construction of the rear, three engine section of the ship.
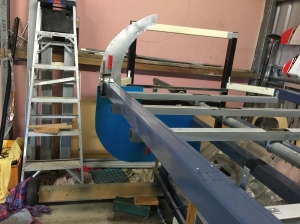
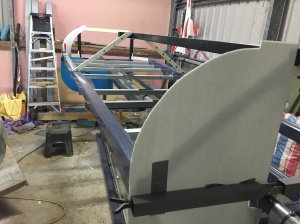
I firstly set up the bulkhead/former stations, ensuring they were square and level. I then attached my previously designed fuselage profiles to ensure everything lined up as expected. After a few slight adjustments, it all looked pretty straight.
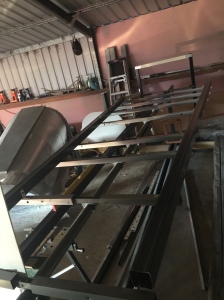
Next up, I began attaching the main structural fuselage beams to the jig. I found some 65mm square x 1.8mm thickness aluminium patio posts for sale locally for a good price, so I bought these to use as my primary structural members. I cut these to size and began attaching them. These will carry the bulk of the load between the nose landing gear and the rear engine landing gear – approximately 4 metres apart.
I continued building the structure of the fuselage forward of the cockpit, with some 50mm square aluminium section and 40 x 25mm section.
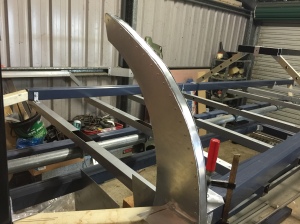
Now to build the formers or bulkheads around the structure. I’m using 1mm thick sheet aluminium for this purpose. The first 3 bulkheads which surround the main cockpit area will be built up with two faces and a riveted flange. This is similar to the construction of the WW2 Spitfire and should provide maximum strength and rigidity.
Construction of the bulkheads will continue until the summer heat hits. Unfortunately that will slow my progress down significantly, as the tin shed becomes the equivalent of a sauna in summer.
